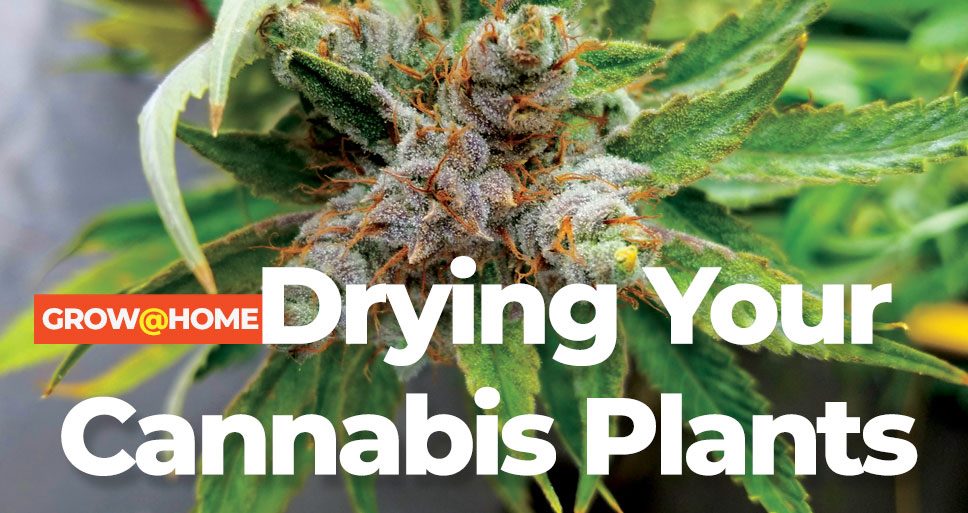
After spending over 100 days nurturing and growing your plants it is now harvest time! Drying
your crop is an art form, as many people will tell you it is. The final steps of drying and curing
cannabis are crucial to making certain your buds are rich with flavor and retain strong cannabinoid profiles.
Although it may seem simple, drying is a stage where you can ruin your crop if not dried
properly. You are poised to benefit from the fruits of your labor, so don’t mess it up! When growing at home ensure you have a few things in place to guarantee success when drying your plants.
Your drying space will need to have plenty of airflow; however, you do not want too
much air movement as it can dry out your buds too quickly, but not enough airflow could allow
for the development of mold and mildew. There is a fine line but through trial and error, you will find the sweet spot that works best for airflow in your drying room. Your drying room should also be dark during the process, so light does not degrade the THC.
The ideal room temperature range is 68 to 75 degrees however you can run higher and lower temps but be sure to check moisture levels by touch to see how slow or fast the process is finishing.
Next, take your harvested plants and break them down into smaller branches to hang on clothes hangers. I like to leave the fan leaves on to help cover and protect the flowers as well as help control the drying process. Place the hangers on a wire or rope where they can remain hanging in the darkened dry room for the next 7 to 10 days. As the flowers approach their optimal moisture level, touch them to feel how dry the outside of the flowers are and then squeeze the flower to see how that exterior dryness consistency compares to that of the interior.
Between day 7 to day 10, expect to have about 90% of the moisture content removed so you can trim and begin the all-important curing process….for more information on curing, see the article entitled How to Properly Cure Cannabis by Ellis Smith.
Once dried you are now ready to pull your flowers off the hangers so you can set up for hand trimming or machine dry trimming which is purely grower preference. I prefer curing in glass jars and although that is my personal preference, I have used plastic containers before which worked great as well. Regardless of the type of container used, once the flowers are placed in your curing container, continue to keep in a dark place at the same 68 to 75-degree temperature range.
Open the container multiple times a day to “burp” any remaining moisture out while monitoring how fast or slow the remaining moisture is being removed. For growers with a busy schedule, you can check once a day as well however you should do this for about 7 to 10 days or until you have reached the desired dryness.
You can keep it jarred up and cure longer but that is all personal preference. Once cured, it is time to fully enjoy all of the work you put in.
Insider Tip: Always check for the smell to see if there is a foul odor or mold developing throughout the drying process.
